MyStudio Kit Tutorial
The MyStudio MS32 is a desktop studio for product photography, the following is a guide to ensure the best quality photos are taken using a standard camera using the MyStudio MS32 and the accompanying light kits.
Camera Tips and Settings for Object Photos:
1. Preparing the White Background: Before you begin taking photos with your MyStudio®, we recommend wiping down the surface of the seamless eye background with Soft Scrub or similar abrasive cleaner. This will help minimize or eliminate any surface sheen and "hot spots", and optimize the seamless background for product photos.
2. Use a tripod to minimize camera movement. This cannot be stressed enough - as you will be using relatively low shutter speeds, any movement of the lens during the time of exposure can result in reduced sharpness or even blurred images. (For the best possible results, try using your camera's 2-second timer when taking photos so you won't even be touching the camera when it snaps the photo).
3. Flash: Turn your flash OFF
4. Turn off other lights: Minimize or turn off any other lights (especially overhead lights) in the room before you begin taking photos. This will reduce the chance of stray shadows and other light bleeding which might affect your white balance and/ or color.
5. White Balance: White Balance should be set to AWB (Auto). If you are more experienced and know how to do a Custom white balance, that will work even better, but AWB generally turns out fairly accurate results. An 18% gray card or Expodisc are other advanced options useful to customize white balance.
6. Metering: If you are using Aperture Priority (Av) or Shutter Priority (Tv) set your exposure metering to "Spot" (symbolized by[•] or• on most cameras) or "Partial". However, we recommend learning to shoot in Manual (M) mode for the greatest control (see Tip #7)
7. Shoot in Manual Mode: shooting in Manual (M) mode will give you the most control and may help to achieve the best results, although it is not always necessary to shoot in Manual to get great photos. Shooting in full Auto mode will generally produce images that are too dark or will cause the background to appear more gray than white, so it is recommended shooting in M (Manual), or Av (Aperture Priority) with Exposure Compensation boosted (see below for more details).
Because all cameras and lenses vary slightly, and different types of products may
require slightly different settings for optimal results due to their color, size or
proximity to the main light source, there is no "magic" setting combination for the
correct exposure. Therefore we recommend starting with one of the following setting
combinations and then adjusting and tweaking from there depending on the results you
get with these settings:
a. ISO 200
b. F / 5.6 (aperture)**
c. 1/15th second (shutter speed)**
- ** Alternate aperture / shutter speed combinations which will give you virtually the
same exposure are:
• F/2.8@ 1/60th sec
• F/4.0 @ 1/30th sec
• F/8.0 @ 1/8th sec
• F / 11.0@ 1 / 4th sec - As previously stated, these are not "magic" settings, but rather a good place to start. Once you have tried a shot with your camera at one or more of the above setting combinations, evaluate the results and begin making minor adjustments to get the result you are looking for. If your results are significantly either too dark or too light, start by increasing or decreasing your shutter speed. For example, if at F / 5.6@ 1 / 15th sec, if your results are too dark decrease shutter speed to 1/10 or 1 / 8 of a sec; if too light increase to 1 / 20 or 1 / 25).
- Exposure Compensation: If you are shooting in full Auto Mode (A), Aperture Priority (Av) or Shutter Priority (Tv) try adjusting the EV level (also called "Exposure" or "Exposure Compensation" on many cameras). Increasing your EV to +1/3, +2/3 or +1 will brighten your overall image and increase the "whiteness" of the background, and -1/3, -2/3 or -1 will have just the opposite effect. If you need to adjust much more than that you will want to change to shooting in Manual Mode (M) adjust the ISO, shutter speed and aperture separately.
8. Preferred Lens Focal Length: For product photography we recommend using lenses with a focal length of around 60mm - 110mm for a full frame sensor, or 35mm - 70mm on cameras with a cropped sensor. If you have a zoom lens set it in one of those ranges depending on the sensor type of your camera (Note: most digital cameras that are not professional quality cameras and/ or cost less than $2,000.00 have a cropped sensor).
9. Focal Point: A general rule of thumb in product photography: if your product has any measurable depth (i.e. not just a relatively flat object) and you are shooting with a high aperture (F8.0 or above), set your main focal point about 1 / 3 of the way in from the front of your subject. If you are shooting with a low aperture (F4.0 or below), your focal point should be on the part of the object that you want in the sharpest focus.
10. Object Position: Place the object to be photographed in the MyStudio® at least six to twelve inches away from where the sweep starts curving up into the back wall. Smaller objects should be positioned closer to the lights.
11. Camera Position: Using the highest focal length possible within the ranges mentioned above, you will likely need to position your camera at least 1-3 feet back from your subject. Actual distance will vary with the actual focal length and the size of your subject. Move your camera (or use your zoom for small adjustments) until the subject mostly fills the frame in the camera's viewfinder with just a small amount of border around the subject. This will generally give you the best "look" and perspective on your product. Furthermore, unless you specifically want a shot looking down on the top of your item, position your camera low enough (usually almost level or just slightly above the level of your subject) to obtain optimal perspective and detail. This will enhance the overall effect of your photo and make your product really stand out.
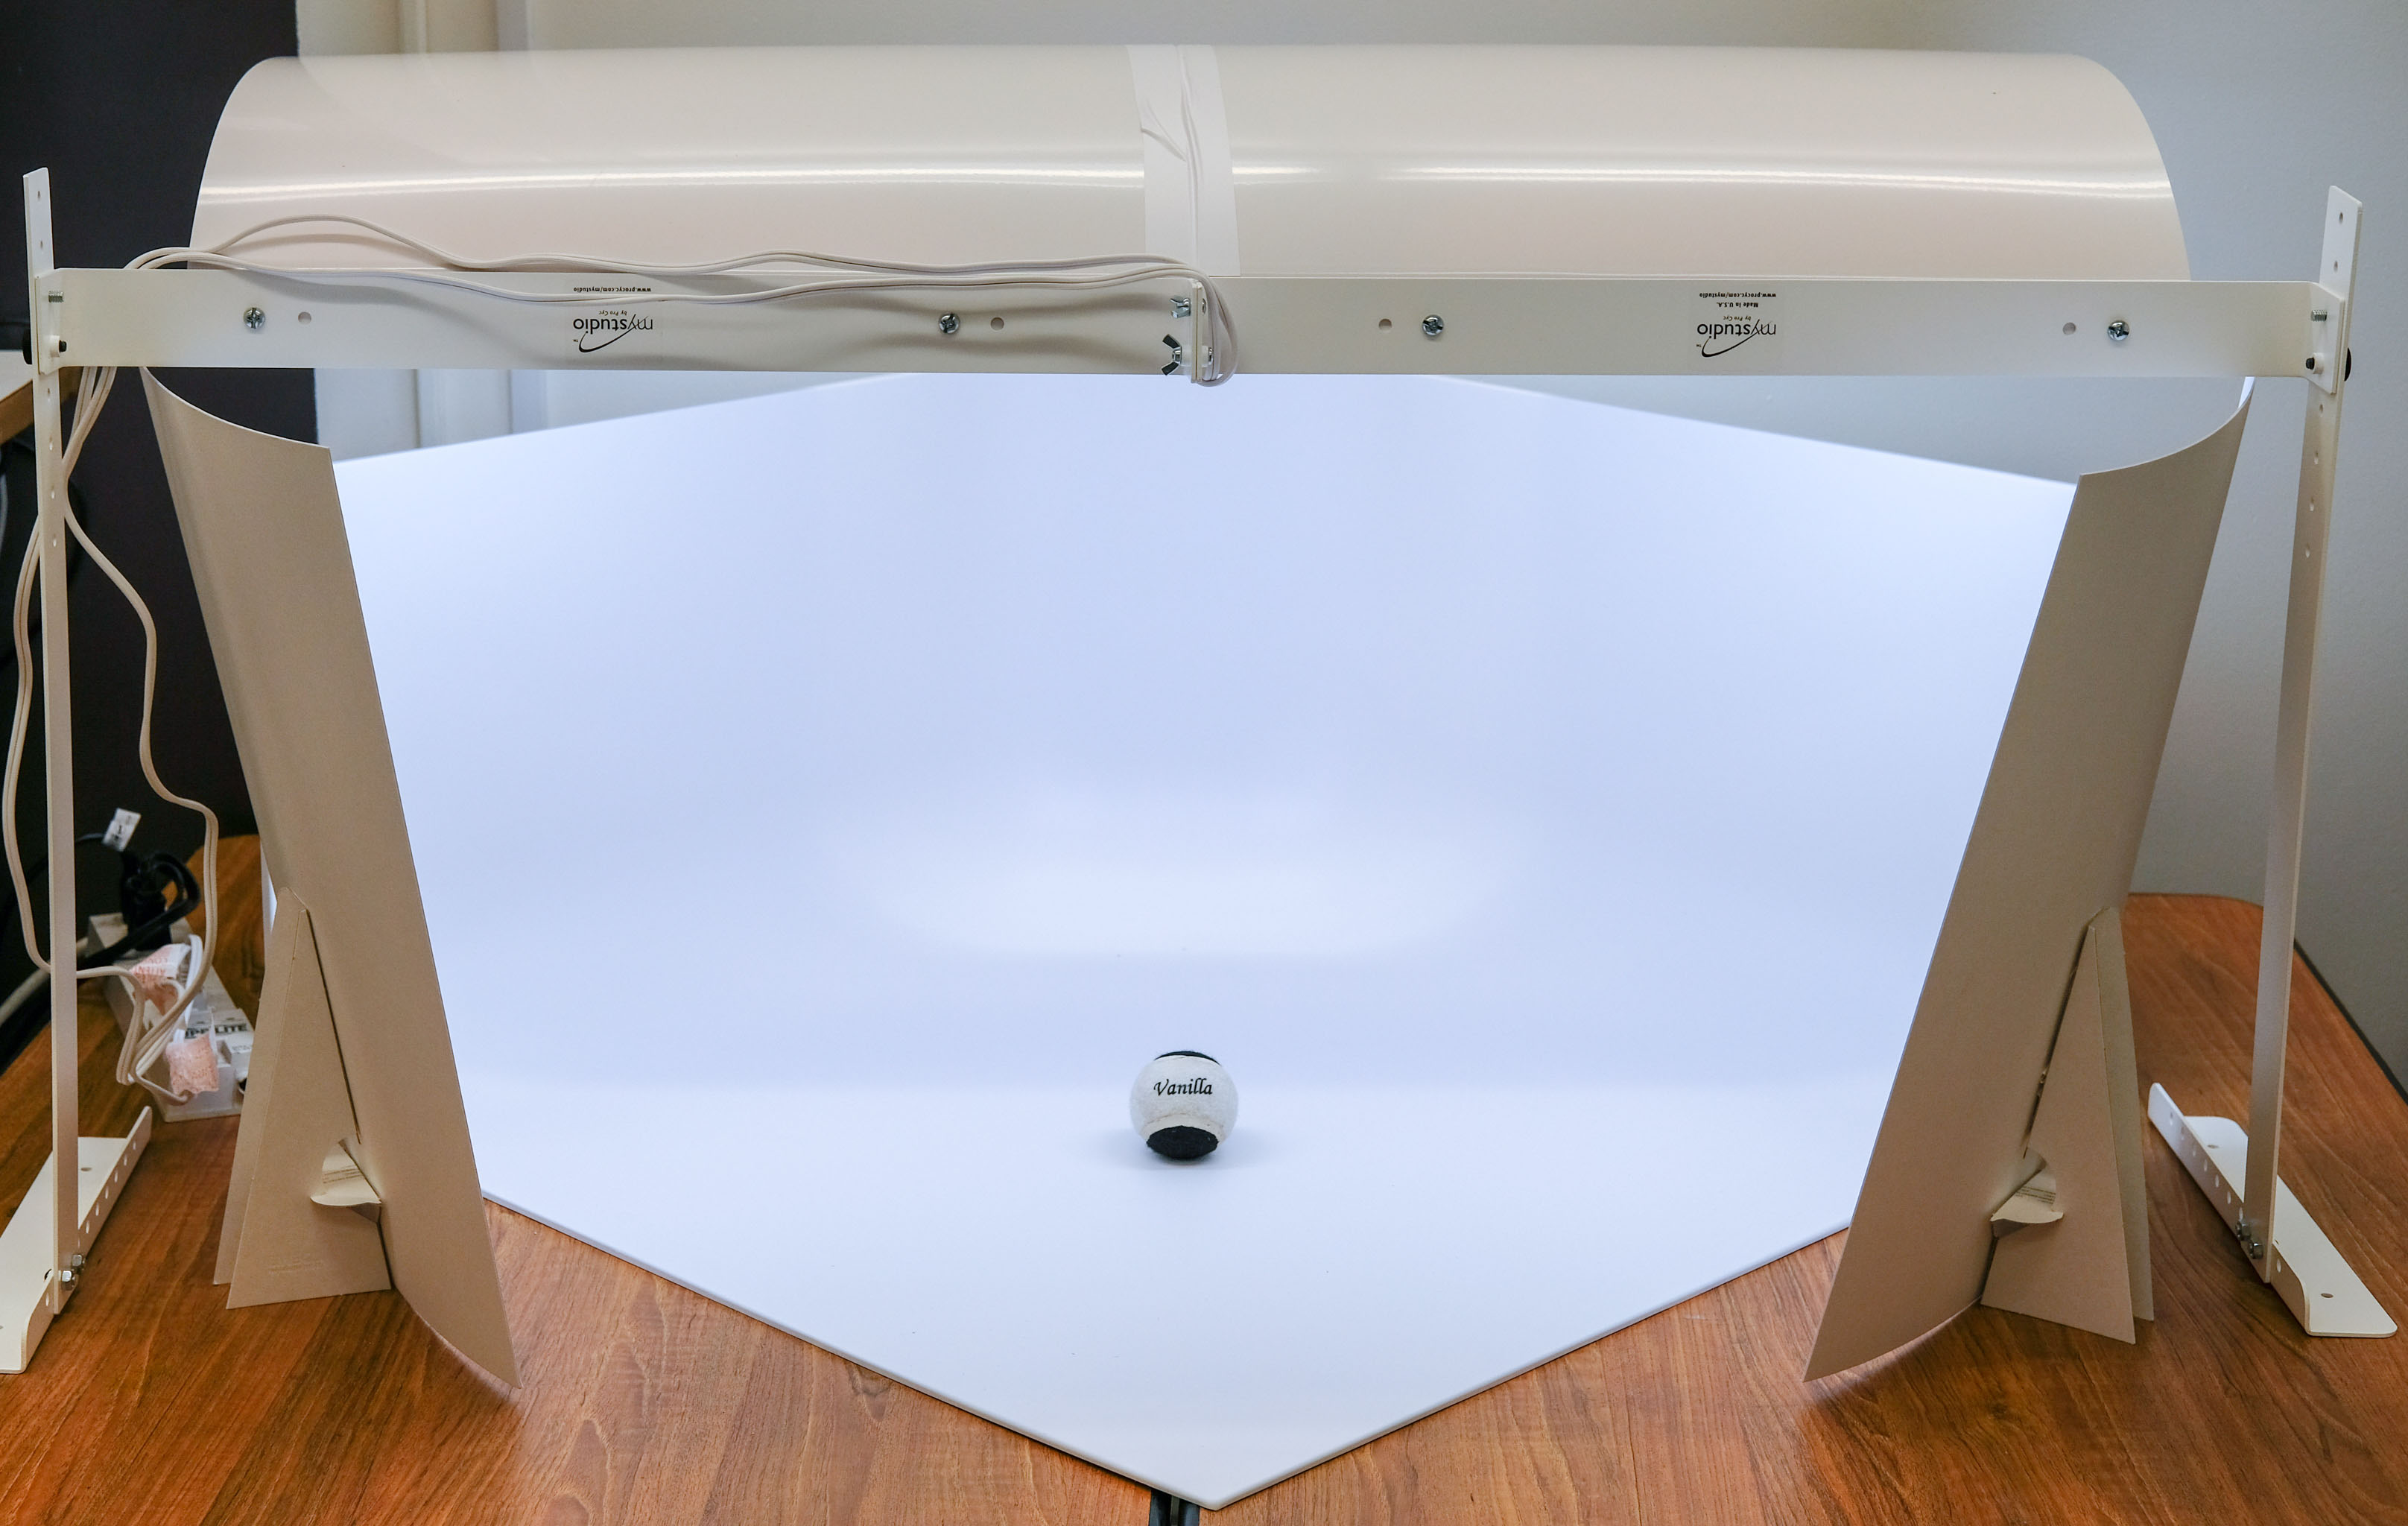
12. Positioning the Bounce Cards: Position the bounce cards at an angle to the sides and in front of your subject
forming a sort of "wedge", and shoot your photo "through" the opening between them
(the small end of the wedge should be facing the camera and the large end facing the
back of the eye). Depending on the type of item you are shooting, play with slightly
different positions of the bounce cards to bring out highlights on your subject (look
closely as you maneuver the bounce cards to see the subtle lighting effects different
positions give you).
13. Post Production: No matter what you may have heard, virtually all professional photos have at least some tweaking/retouching done to them. Once you have the image(s) on your camera transferred to a computer, you can further optimize them very quickly in an image editor like Corel Paint Shop Pro Photo or Adobe Photoshop Elements by increasing the overall Contrast and/ or Brightness by a factor of about 10%-20%. You may also want to adjust the white balance and/or exposure to get your image just right according to your taste. These simple steps often make images that are almost perfect really pop and can make the background appear even whiter.